
As an Amazon Associate I earn from qualifying purchases.
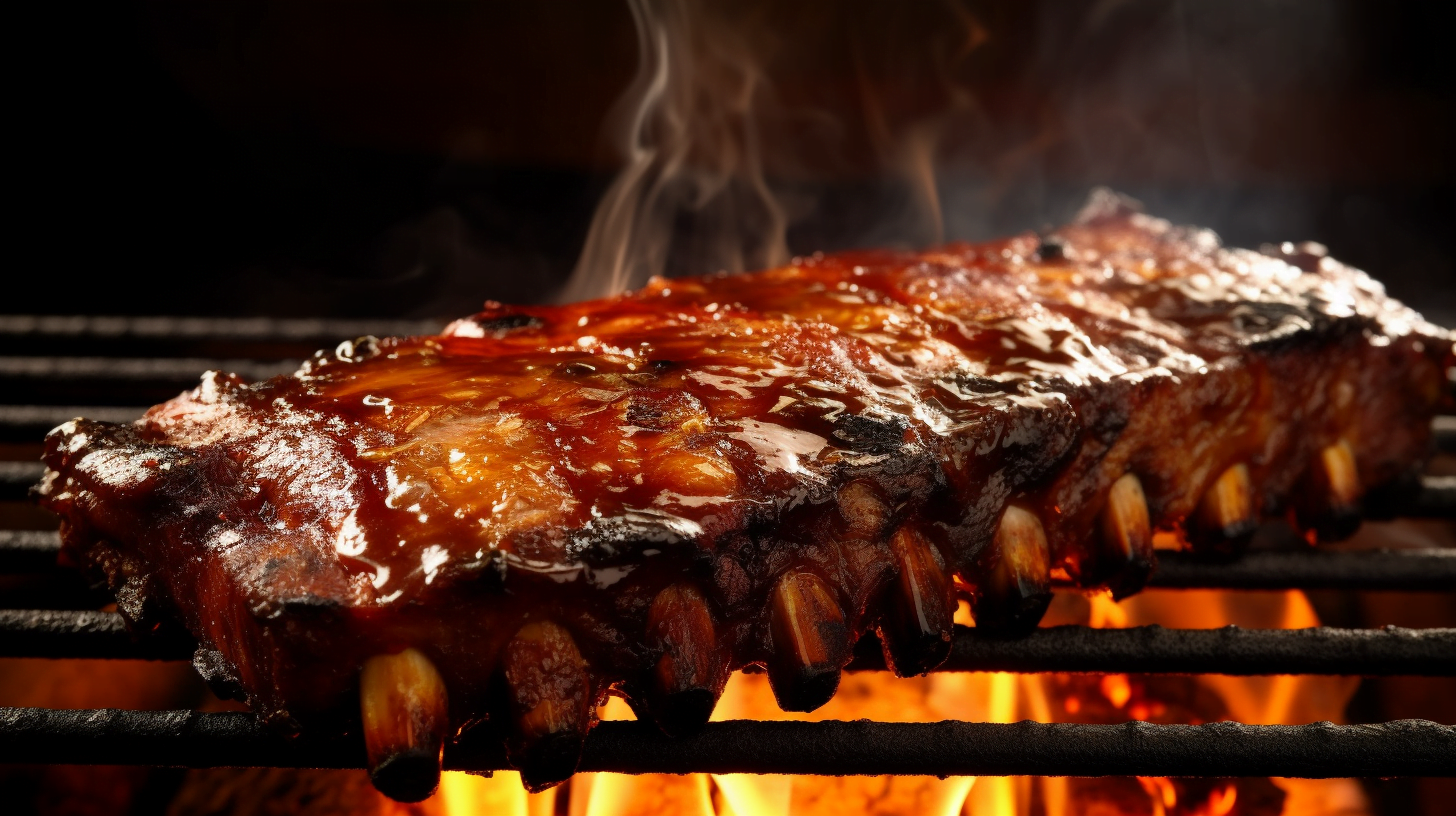
Charcoal Grilling Ribs
Are you ready to take your grilling game to the next level? There’s nothing quite like the smoky flavor and charred perfection of charcoal-grilled ribs. With a little bit of know-how and a lot of passion, you can create mouth-watering ribs that will have everyone begging for more.
First things first, it’s important to choose the right type of ribs. Whether you prefer baby back or spare ribs, make sure they’re fresh and well-marbled with fat. This will ensure that they cook evenly and stay moist throughout the grilling process. Once you’ve selected your perfect slab of meat, it’s time to get down to business and prepare them for the grill. So grab your apron, fire up the coals, and let’s get started!
Key Takeaways
- Choosing the right type of ribs is important for taste and texture
- Proper preparation includes trimming excess fat and using a dry rub for flavor
- Slow and low cooking using direct and indirect heat sources is key for tender and juicy ribs
- Serving suggestions and presentations can elevate the dining experience and impress guests.
Choose the Right Ribs
Choosing the right ribs can make or break your charcoal grilling game, so it’s important to know the difference between baby back and spare ribs. Baby back ribs, also known as loin back ribs, are taken from high up on the pig’s back and are shorter and curved. They have a leaner meat-to-bone ratio than spare ribs, making them a great choice for those who prefer less fat. On the other hand, spare ribs come from the belly of the pig and have more bone and more fat than baby back ribs. This makes them ideal for those who love their meat juicy and flavorful.
If you’re feeling adventurous, you might want to try St. Louis style instead of traditional baby back or spare ribs. St. Louis-style is basically trimmed-down spare rib with tips removed, while country style comes from pork shoulder blade roast that has been sliced into strips resembling short spare ribs. Both cuts offer unique characteristics that could add an extra layer of complexity to your barbecue experience.
When selecting your rack of ribs, look for ones that are evenly sized with no exposed bones or cartilage in between each rib bone. Choose fresh-looking ones that have decent marbling but not too much surface fat since these will produce unpleasant flare-ups when grilling over charcoal heat.
Now that you’ve chosen your perfect cut of meat, it’s time to prepare it for cooking by removing any excess silverskin (the white membrane covering one side of the rack) using a sharp knife or butter knife inserted under one end then gently pulling away along its length while holding onto another end with paper towel if needed before rubbing down some seasoning according to preference.
With your perfectly selected rack ready to be prepared for cooking over charcoal heat by following these guidelines on choosing just what type suits best we move into preparing them properly before putting them on fire!
Prepare the Ribs
Before getting started, it’s important to give your meat a little TLC. This means preparing the ribs properly and investing some time in seasoning them. One essential seasoning technique is to use a dry rub, which can add flavor and tenderness to your meat. You can use store-bought rubs or create your own by mixing spices such as paprika, garlic powder, onion powder, cumin, and brown sugar. Apply the rub generously on both sides of the ribs and let them sit for at least an hour before grilling.
Trimming fat is another crucial step in preparing the ribs. While fat adds flavor to the meat, too much of it can make your dish greasy and unappetizing. Use a sharp knife to remove any excess fat from the surface of the ribs before seasoning them with your dry rub. Be careful not to cut too deep into the meat as this can ruin its texture.
To help you visualize these steps better, here’s a table that summarizes how you should prepare your ribs:
| Step | Instructions |
|---|---|
| 1 | Remove excess fat from the surface of the ribs |
| 2 | Season both sides with dry rub |
| 3 | Let ribs sit for at least an hour |
By following these preparation techniques, you’ll have perfectly seasoned and trimmed ribs that are ready to go on the grill. Now that you’ve prepared your meat properly, it’s time for the next step: setting up the charcoal grill.
Transitioning into our next section about ‘set up the charcoal grill’, keep in mind that having well-prepared ribs is just one part of making delicious grilled food. Getting those perfect char marks and smoky flavors on your meat requires the proper set-up of your charcoal grill.
Set Up the Charcoal Grill
Now that you’ve prepared your ribs, it’s time to get the grill set up for cooking. The key to charcoal grilling is lighting the coals properly and maintaining consistent heat throughout the cooking process. Here are some tips to help you set up your charcoal grill like a pro:
- Lighting charcoal: There are several ways to light charcoal, but using a chimney starter is by far the easiest and most effective method. Simply fill the chimney with briquettes or lump charcoal, place some newspaper in the bottom, and light it with a match or lighter. Once the coals are hot and glowing red (usually after 15-20 minutes), carefully dump them into your grill.
- Maintaining heat: To maintain consistent heat while grilling ribs, it’s important to arrange your coals properly. For indirect grilling (which is recommended for ribs), pile your hot coals on one side of the grill and leave an empty space on the other side. This will create two zones of heat – one hot zone for searing and one cooler zone for slow cooking.
- Using a chimney starter: If you’re new to using a chimney starter, don’t be intimidated! It’s actually very easy once you get the hang of it. Just be sure to use gloves when handling hot coals, keep children and pets away from the grill, and never use lighter fluid or gasoline as they can cause dangerous flare-ups.
With these tips in mind, you’re ready to set up your charcoal grill like a pro! Once your coals are hot and arranged correctly, it’s time to start grilling those delicious ribs. In the next section, we’ll go over how to cook them low and slow for maximum flavor and tenderness.
I use a simple accessory called a Slow N Sear to aid in doing this perfectly. Check it out here.
Grill the Ribs
Now it’s time to grill the ribs! Remember, when it comes to cooking ribs, slow and low is the way to go. This means keeping the heat low and cooking for a longer period of time. Don’t forget to baste with sauce every 30 minutes or so, as this will help keep your ribs moist and flavorful throughout the grilling process. Get ready for some mouth-watering results!
Cook Slow and Low
Slow and low is the key to perfectly tender and juicy charcoal-grilled ribs, allowing the flavors to meld together like a symphony. To achieve this, it’s important to control the temperature of your grill, keeping it at a low heat between 225-250°F. This can be achieved by using a combination of both direct and indirect heat sources. Place your charcoal on one side of the grill and leave the other side empty, creating two distinct cooking zones. Add wood chips to the coals for that smoky flavor.
Next, place your seasoned ribs on the cooler side of the grill, away from direct heat. Close the lid and let them cook slowly for several hours until they’re fall-off-the-bone tender. It’s important not to rush this process or you’ll risk toughening up your meat. Use a meat thermometer to check for doneness – your ribs should reach an internal temperature of 185°F before they’re ready to come off the grill.
Now that you’ve mastered cooking slow and low, it’s time to move on to basting with sauce for that perfect finish!
Psst, You can use this and get spot-on perfect charcoal ribs EVERY time!

Baste with Sauce
To create a mouthwatering glaze, you’ll want to baste your meat with sauce towards the end of its cooking time. There are various types of sauces that you can use depending on your preferences – some people prefer spicy barbecue sauce while others enjoy sweet and tangy flavors. Whichever type of sauce you choose, make sure to apply it generously on your ribs using a basting brush every few minutes during the last 20-30 minutes of cooking. This will not only add flavor but also create a beautiful caramelized coating on the surface of your ribs.
Once done with basting, it’s important to let your ribs rest for about 10-15 minutes before carving into them. This allows the juices within the meat to redistribute, making your ribs more tender and flavorful. While resting, cover them loosely with aluminum foil to keep them warm. After this short period of patience, you can finally serve and enjoy your deliciously charred and sauced-up ribs!
Serve and Enjoy
Once your ribs are cooked to perfection, it’s time for you to grab a plate and dig in, savoring the smoky flavors and tender meat that will leave you feeling satisfied and content. But before you take that first bite, consider some of these rib accompaniments and serving suggestions that will elevate your dining experience to the next level.
Firstly, consider pairing your charcoal-grilled ribs with some classic sides like corn on the cob or baked beans. The sweetness of the corn complements the smoky flavor of the ribs perfectly while the savory taste of baked beans adds another layer of richness to your meal. Additionally, don’t be afraid to experiment with different sauces or marinades that can add unique flavors to your ribs.
Another great way to serve your charcoal-grilled ribs is by adding some fresh herbs or spices on top. Some chopped cilantro or parsley can give your dish a pop of color and an added freshness that balances out any heaviness from the meat. Alternatively, sprinkle some smoked paprika or cumin on top for an extra kick of flavor.
Lastly, when serving your ribs, make sure they are cut into individual portions so everyone can have their own piece. This not only makes it easier for guests but also adds a touch of elegance to your presentation. And don’t forget about napkins! Ribs can get messy so keep plenty on hand.
Serving charcoal-grilled ribs doesn’t have to be complicated but taking these simple steps can turn a good meal into a great one. Pairing with classic sides, adding fresh herbs or spices, and cutting into individual portions are just a few ways you can impress your guests (or yourself) at any barbecue or dinner party. So grab those tongs and start grilling – deliciousness awaits!
Frequently Asked Questions
What is the best type of wood to use for charcoal grilling ribs?
When it comes to charcoal grilling, choosing the right wood can make all the difference in the flavor profile of your dish. There are a variety of wood options to choose from, each with its own unique characteristics. Some popular choices for grilling include hickory, mesquite, and applewood. Hickory is known for its strong flavor and is great for smoking meats like ribs or brisket. Mesquite has a bold, earthy taste that pairs well with beef and pork. Applewood is more mild and sweet, making it perfect for poultry or fish. Ultimately, the best type of wood to use for charcoal grilling ribs depends on your personal preference and desired outcome. Whether you want a smoky or sweet flavor profile, experimenting with different woods can elevate your BBQ game to new heights.
Can you use a gas grill instead of a charcoal grill for grilling ribs?
When it comes to grilling ribs, the debate between gas and charcoal is a hot topic. While both methods have their advantages, there are some notable flavor differences to consider. Gas grills offer convenience and ease of use, but they often lack the smoky flavor that comes with using charcoal. Charcoal grilling allows for more control over temperature and produces that signature charred taste that many people crave when it comes to ribs. However, if you prefer your ribs to have a milder flavor or want a quicker cook time, gas may be the way to go. Ultimately, it comes down to personal preference – whether you prioritize convenience or bold flavors.
How long should you let the ribs rest after they come off the grill?
When it comes to achieving the perfect tenderness for your ribs, resting duration is key. After grilling, you should let your ribs rest for at least 10-15 minutes before cutting into them. This time allows the juices to redistribute throughout the meat, resulting in a more flavorful and tender bite. Additionally, if you cut into the meat too soon after removing it from the grill, all those delicious juices will spill out onto your plate instead of staying inside the meat where they belong. So be patient and resist the urge to dig in right away! Trust us, it’s worth the wait for that perfectly tender and juicy bite.
What are some common mistakes to avoid when grilling ribs?
When it comes to grilling ribs, there are some common mistakes that you want to avoid. One of the most important things is preventing overcooking, which can result in tough and dry meat. To prevent this, make sure to keep an eye on your grill’s temperature and use a meat thermometer to check for doneness. Another mistake is not using proper marinade techniques, as this can greatly enhance the flavor and tenderness of your ribs. Take the time to marinate your ribs overnight in a flavorful mixture of spices, oils, and acids like vinegar or citrus juice. By avoiding these mistakes and using proper techniques, you can create perfectly grilled ribs that are tender, juicy, and full of flavor.
How do you know when the ribs are done cooking?
Did you know that the average American eats about 18 pounds of ribs each year? Now, let’s talk about how to know when your ribs are done cooking. Internal temperature is key – aim for around 190-203°F for fall-off-the-bone tenderness. But don’t rely solely on a thermometer – look for visual cues like the meat pulling away from the bone and a nice caramelization on the outside. And while charcoal grilling can give your ribs amazing flavor, don’t forget about seasoning and marinades to enhance that taste even more. With attention to both temperature and visual indicators, plus some delicious seasoning, your charcoal grilled ribs will be sure to impress at any backyard barbecue or family gathering.
Conclusion
So, you thought grilling ribs over charcoal would be an easy task? Well, think again! After hours of preparation and grilling, your ribs still turned out dry and tasteless. But hey, it’s not the end of the world. You can always order takeout from your favorite BBQ joint.
Or, you could just keep practicing until you get it right. Because let’s face it, there’s nothing quite like the taste of perfectly grilled ribs over charcoal. So don’t give up just yet! Keep experimenting with different rubs and sauces, adjusting your grill temperature and timing until those ribs are fall-off-the-bone delicious. It may take some time and effort, but trust us – it’s worth it in the end. Happy grilling!
Amazon and the Amazon logo are trademarks of Amazon.com, Inc, or its affiliates.